Overview of the NoPass macOS desktop app
The NoPass desktop application for macOS computer allows you to perform a number of functions: manage your accounts created on websites with the NoPass app integrated into them; create and manage your NoPass profile; provide additional protection with additional authentication factors; create backup files containing your account data.
To learn how to install your NoPass desktop app on your macOS computer, go to Install the NoPass™ macOS desktop application.
To learn how to uninstall and update your NoPass desktop app, go to Uninstall your NoPass™ macOS desktop app.
After installation, the NoPass desktop app looks as follows:
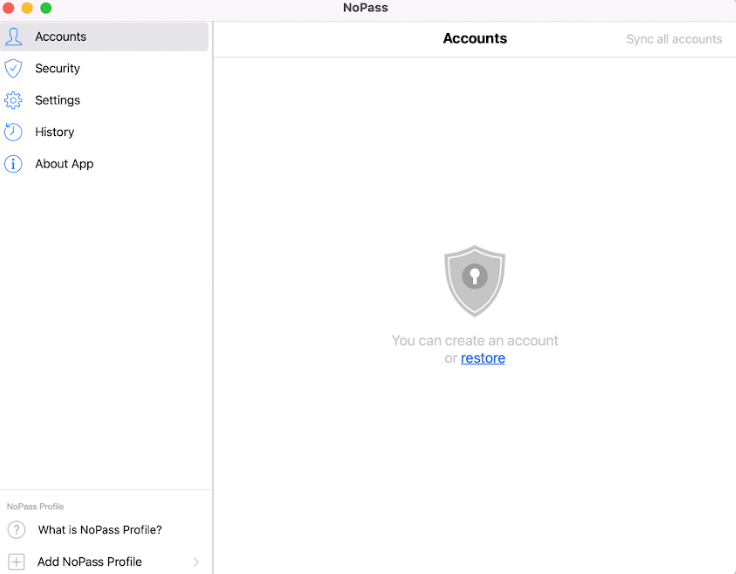
The Accounts page
As soon as you create your first NoPass account on the macOS computer where the NoPass desktop app is installed, the account shall be displayed on the Accounts page.
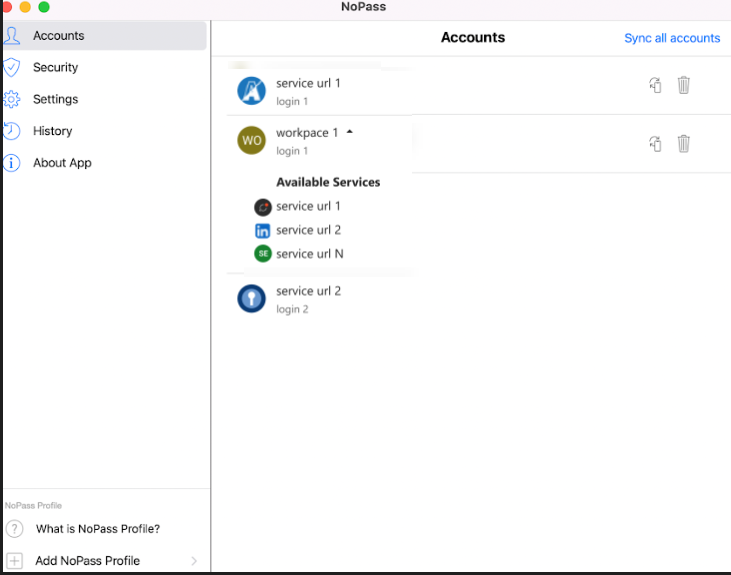
Note the following rules of accounts naming.
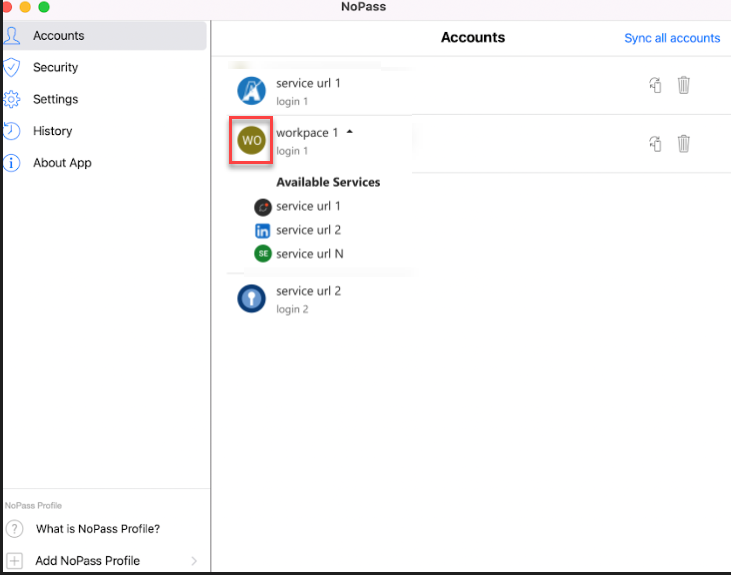
- You can create accounts on several portals (Services) belonging to one and the same Workspace of a Company. Then, the name of your account shall represent the common name of the Workspace, and the list of the Services where you have already registered is displayed in the drop-down menu.
- If the Workspace has only one portal (Service), the account name shall be the domain name part of this Service URL.
- When registering accounts on different portals (Services) within one and the same Workspace, use a unique login for each portal.
The accounts on the Accounts page of your NoPass™ desktop app are displayed in accordance with the following rules.
- The accounts are displayed in the Accounts menu in the order of their registration.
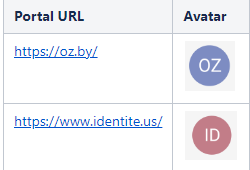
- When you register your account on the one and only Service of the Workspace, and this Service has a favicon, then, this favicon is displayed as an avatar of your account.
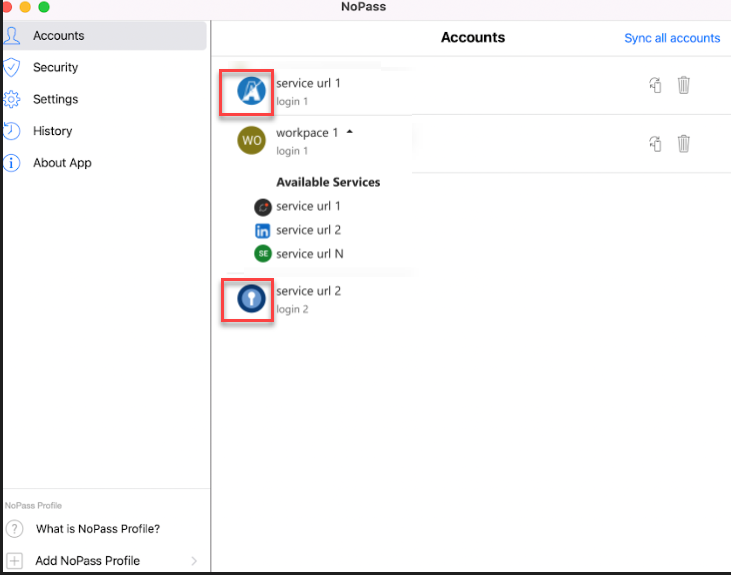
- When the Service where you register your account has no favicon, then the first two capitalized letters of the Service domain name are displayed as the account avatar.
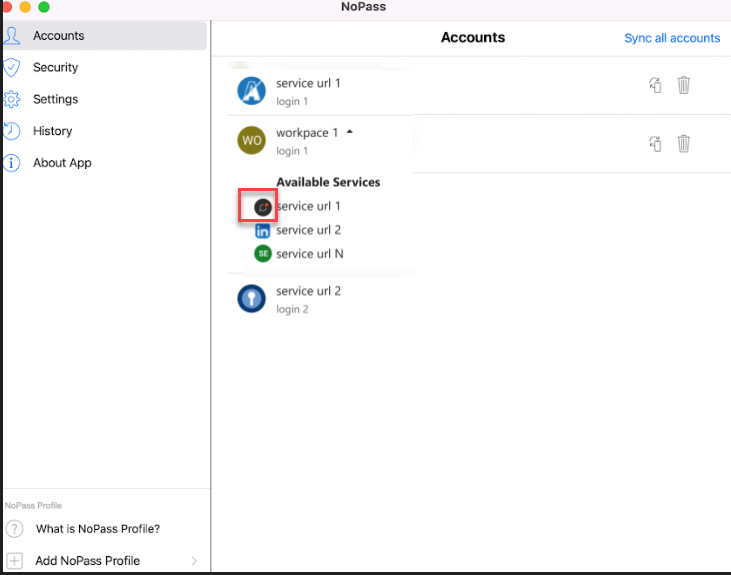
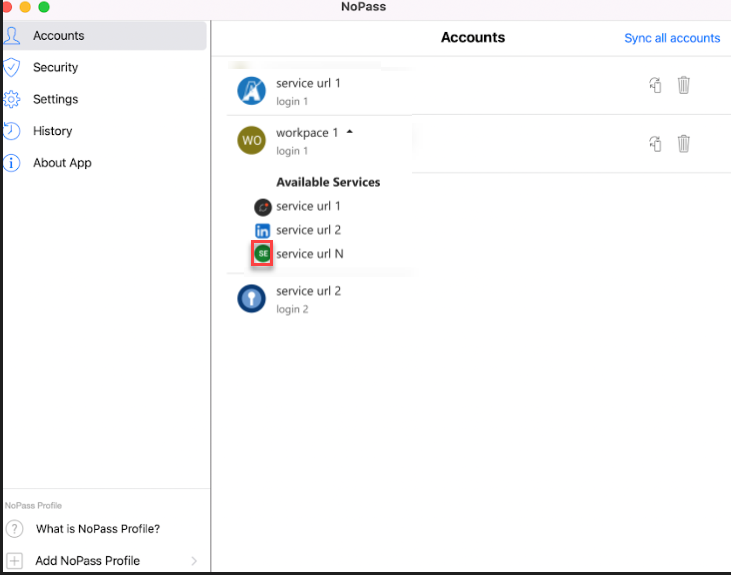
- When you register your account on the Service within a Workspace with multiple Services, then:
- The Workspace avatar contains the first two capitalized letters of the Workspace name.
- The account registered on the Service with a favicon has this favicon displayed as the account avatar.
- The account registered on the Service without a favicon has the first two capitalized letters of the Service domain name displayed as the account avatar.
- Every time you update the NoPass desktop app, the account avatars of the existing accounts are updated respectively.
On the Accounts page, you can perform the following actions with your Account data.
- You can synchronize your accounts with those created in your other devices. For more details, see Synchronize your accounts.
- You can delete your account with the Remove button. For more details, see Delete account.
The Security page
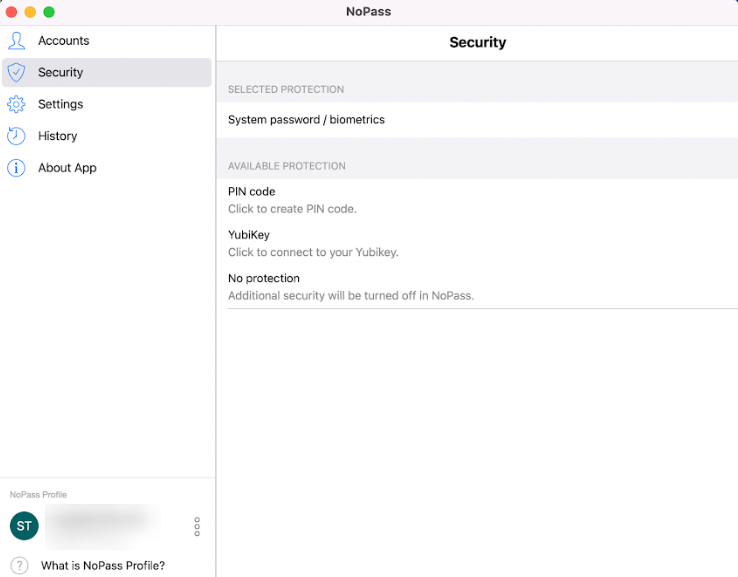
On the Security page, you can set up additional authentication factors for security reasons. For more details, see Set up additional authentication factor.
The Settings page
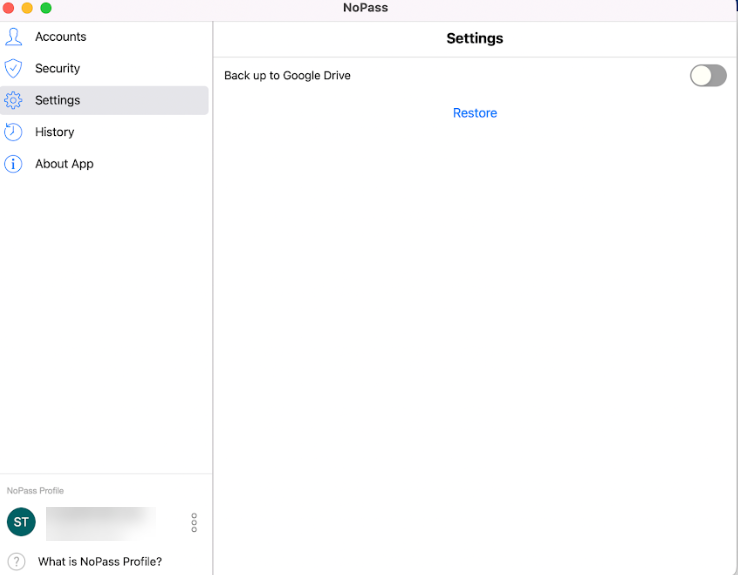
On the Settings page, you can create a backup file for your accounts data. The backup will allow you to restore your account data if they are lost. For more details, see Manage your account data in NoPass™ desktop app.
The History page
Until you try to sign in to your NoPass account on any portal, the History page of your desktop app is empty.
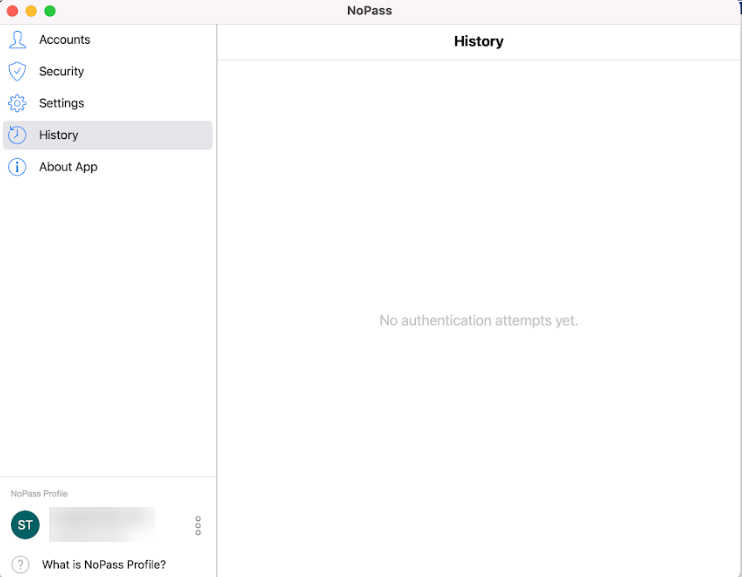
Then, all your authentication attempts are displayed on the History page.
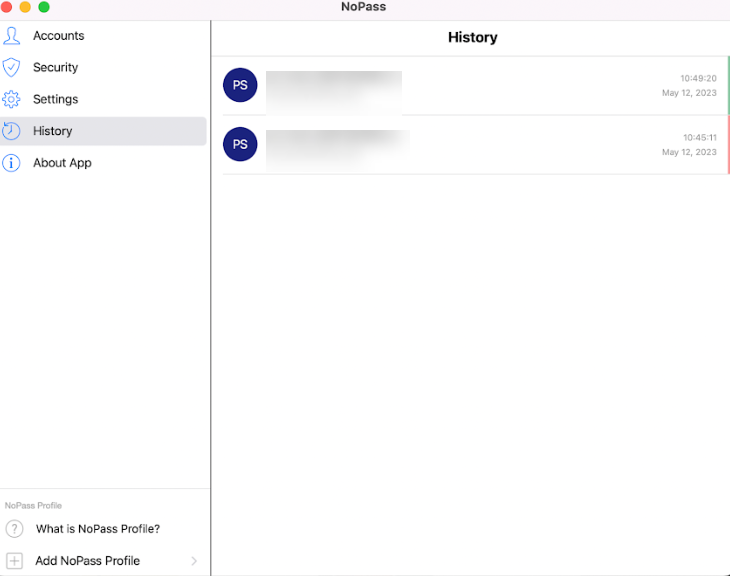
For more details, see History of your actions.
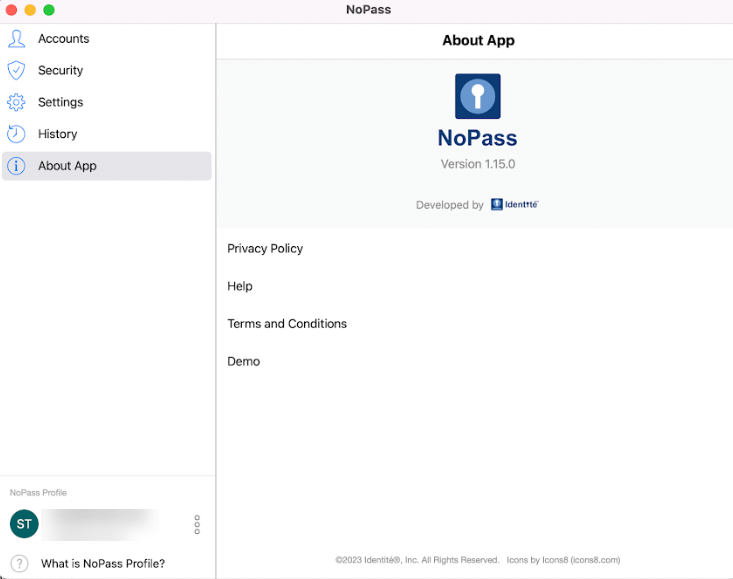
The About App page
The About App page contains data on the application version, links to the documents such as Privacy Policy, Terms and Conditions, and links to FAQ and Demo pages of identite.us site.
NoPass Profile
The NoPass profile option is available in the left sidebar.
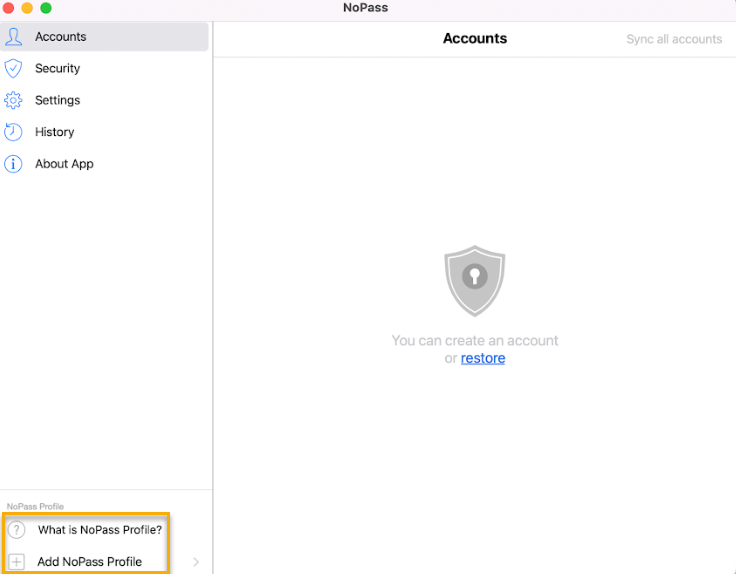
- To get more information on the profile option, click What is NoPass Profile?
- To create your profile, click Add NoPass profile.
For more details, see Manage Profile in your macOS desktop app.