Install the NoPass™ Windows desktop application
You can install your NoPass™ desktop application during the account registration process ( see Register account without QR for more details), as well as when creating your Profile in the browser (see the Create Profile section for more details).
Install NoPass™ desktop app during account registration
You can register your account on the website with NoPass™ integrated into it using either your email as a login or your social media login.
Registering an account with your email address
Procedure
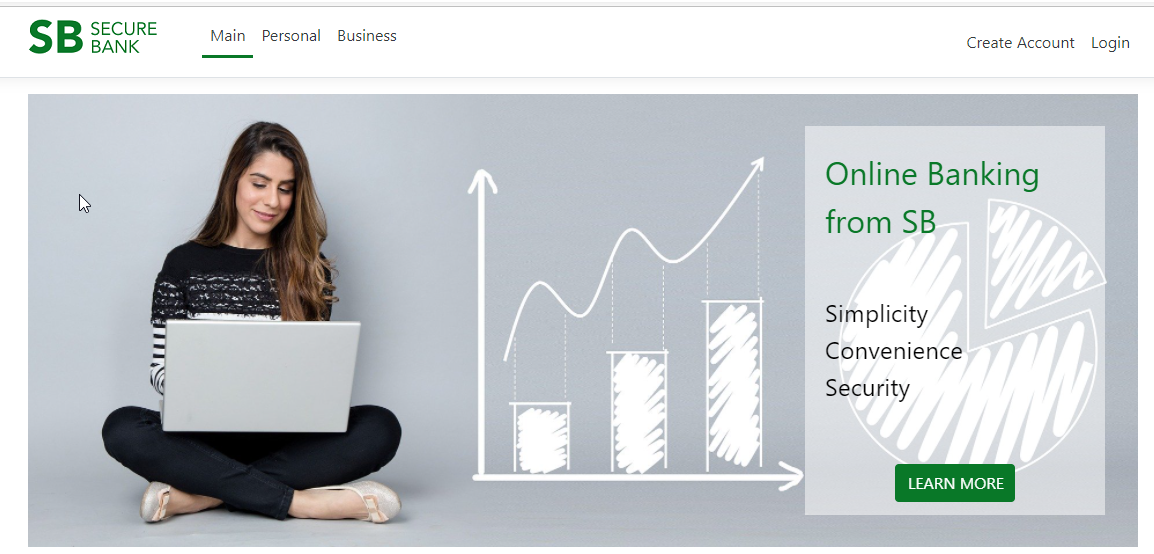
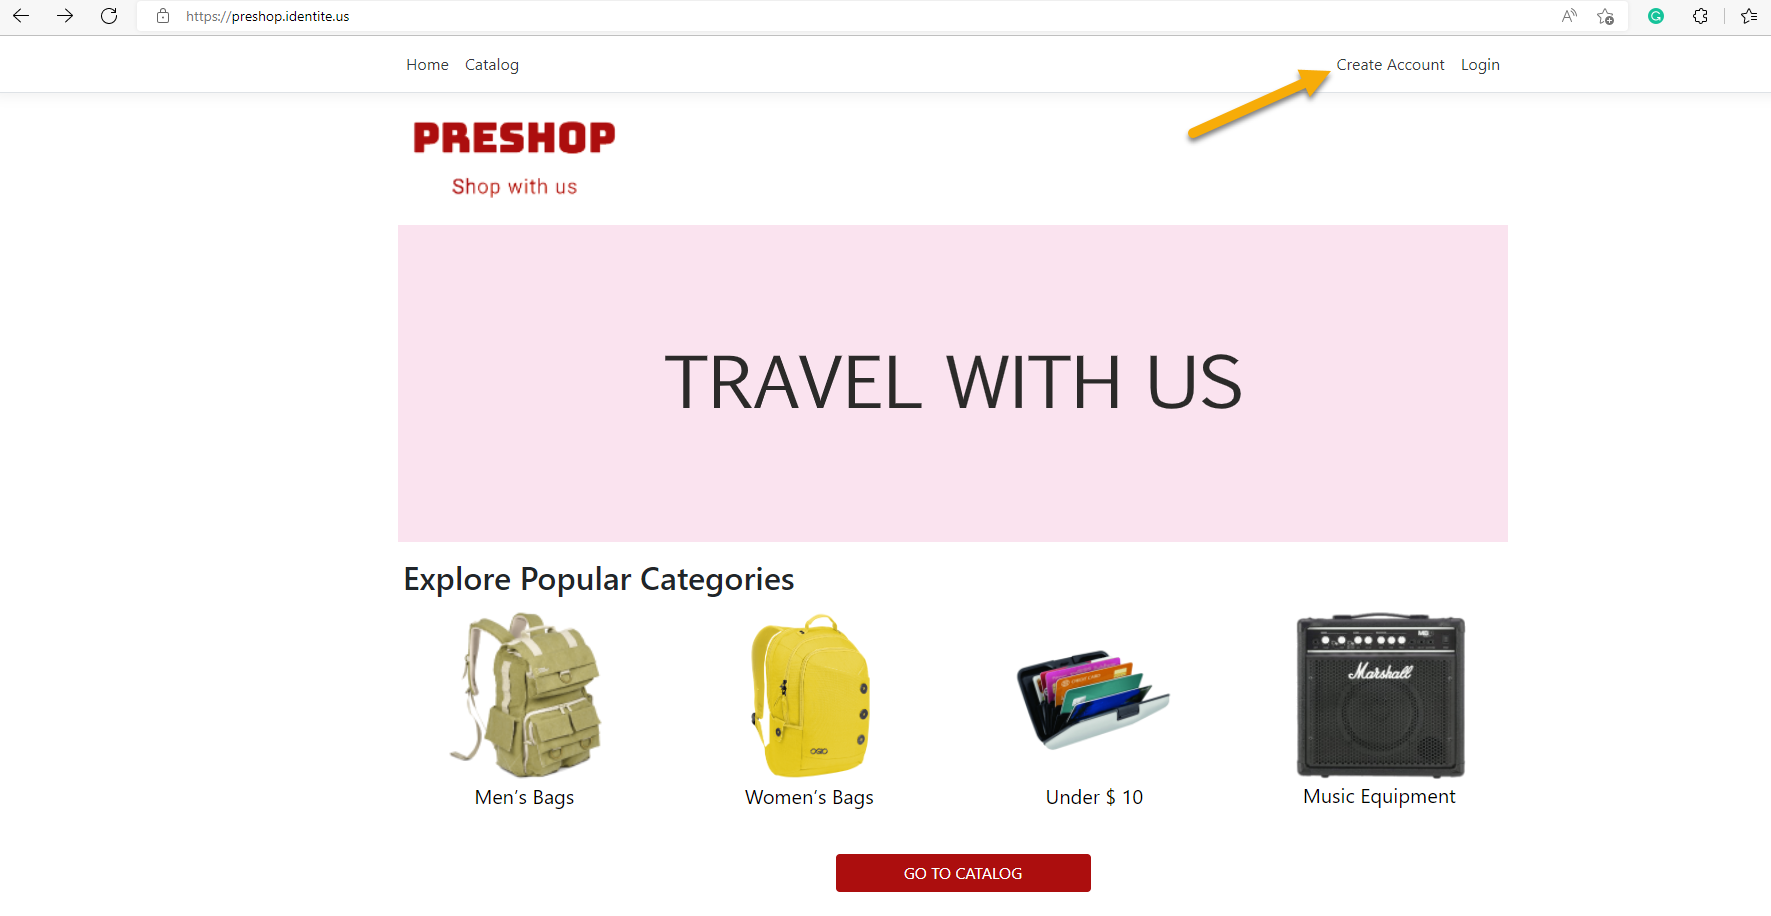
1. On the chosen website with NoPass™ integrated into it, click Create account.
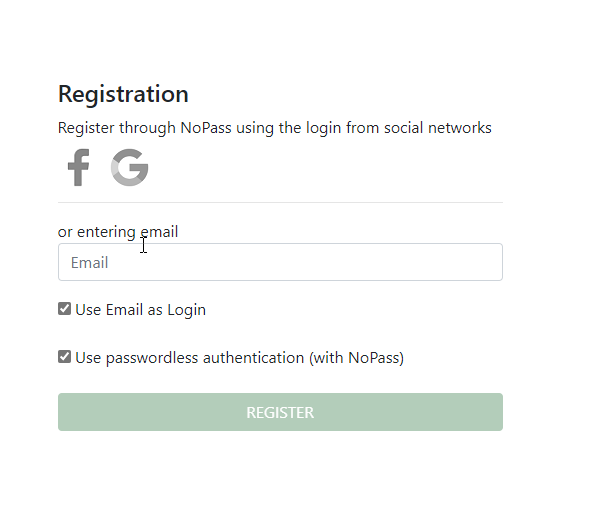
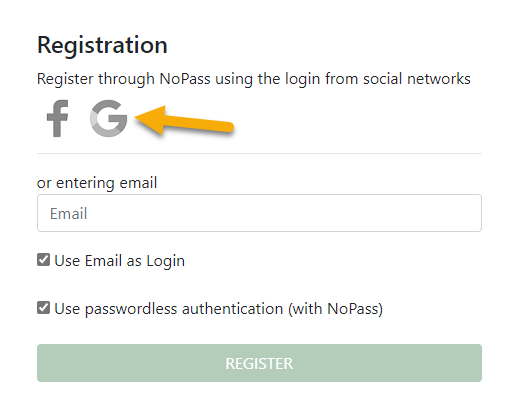
2. On the registration page, enter your email, perform one of the following actions, and click Register.
- In the Login field, enter the unique login.
- Select Use email as login check box.
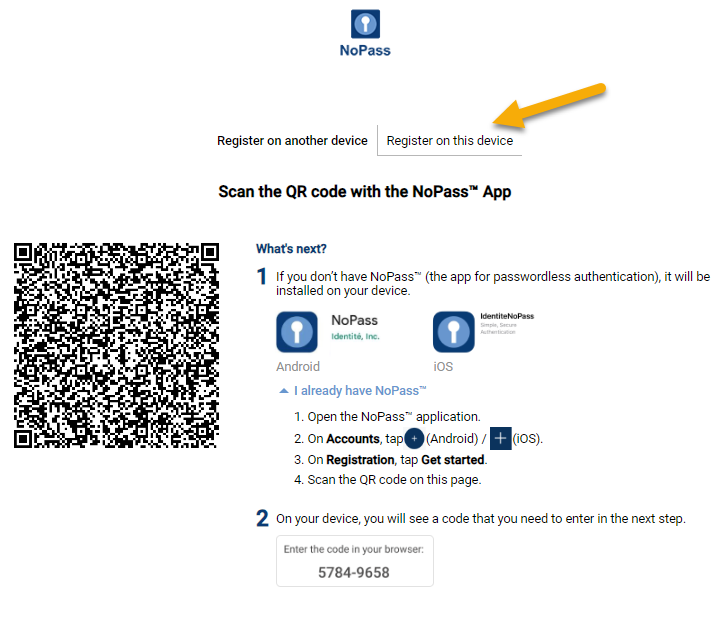
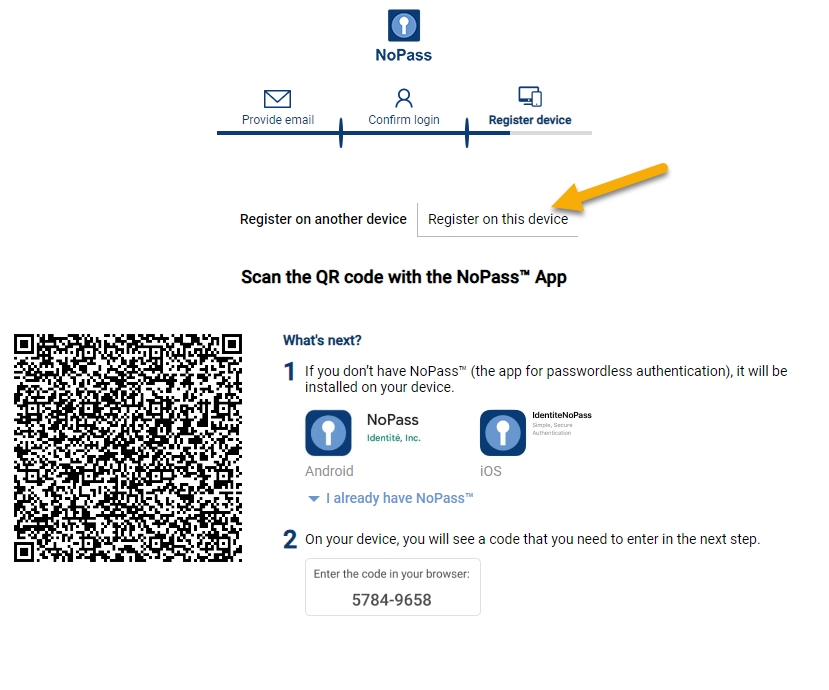
3. To install the NoPass™ desktop application, click Register on this device.
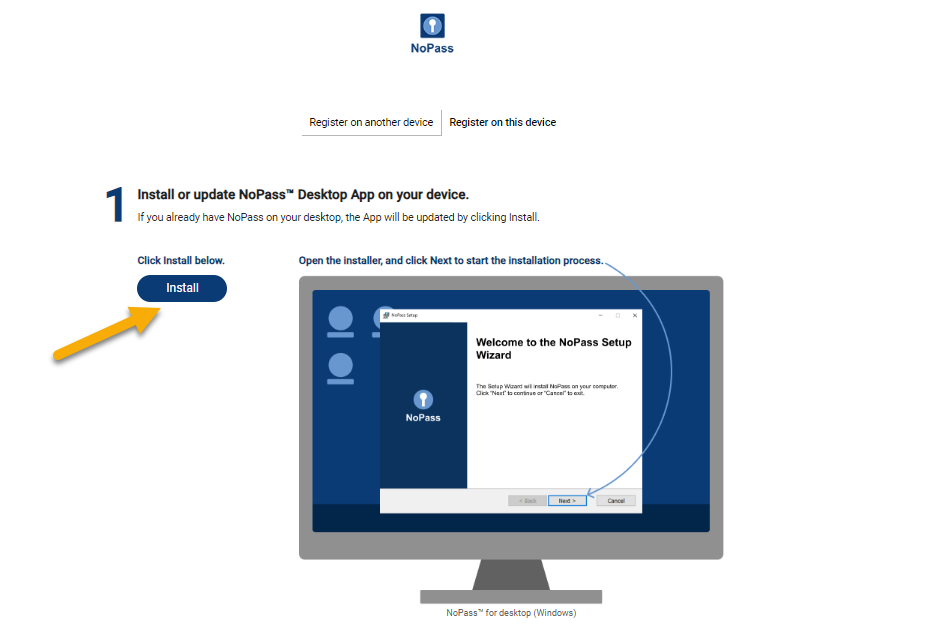
4. On the following page, click Install.
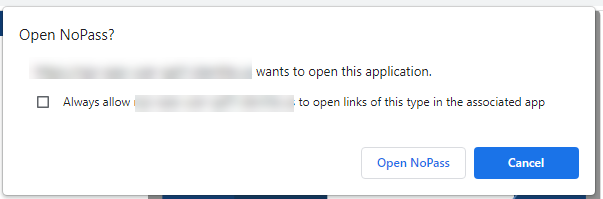
5. On the pop-up, select Always allow pop-ups and redirects from identite.us to enable the download.
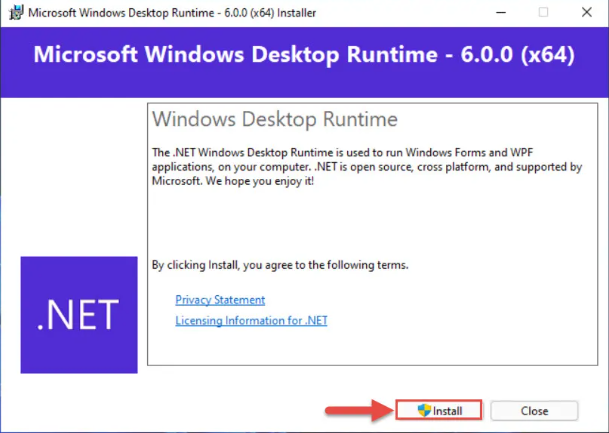
6. Make sure .Net Runtime is installed on your computer. Otherwise, click Install in the following dialogue box to install the necessary software.
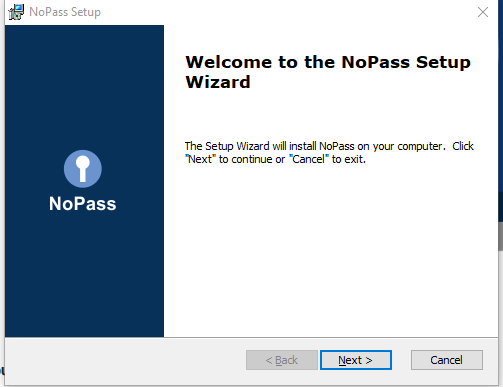
7. Follow the NoPass™ Setup Wizard instructions.
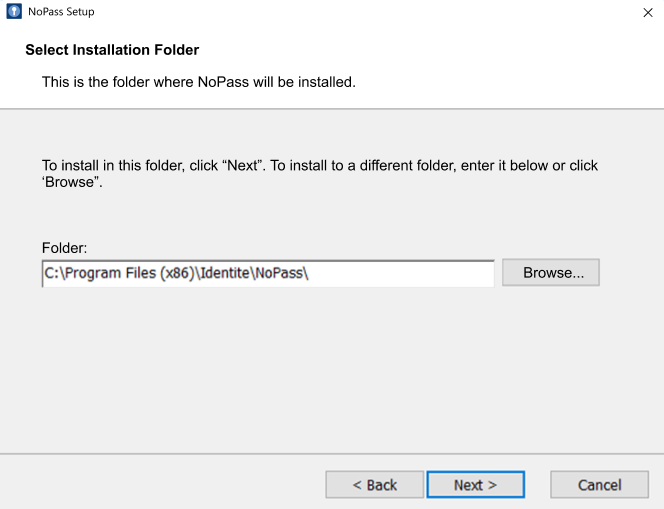
8. On the following screen, select the destination folder for the NoPass™ desktop app installation. Click Browse to explore the suitable folder on your PC, or click Next to use the default destination folder for installation.
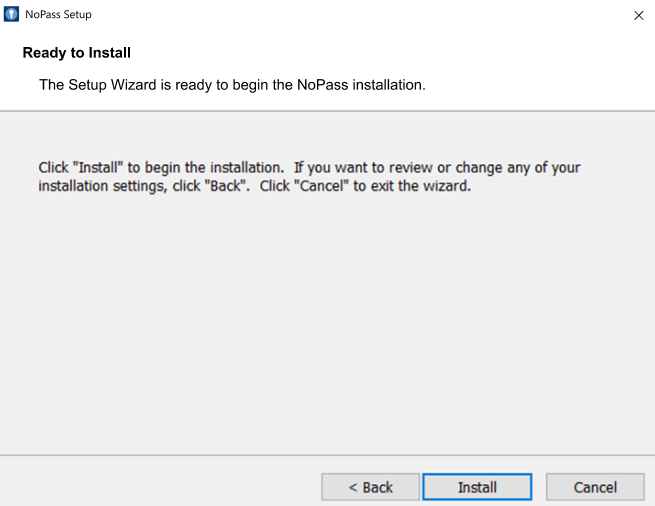
9. Click Install to start the installation process.
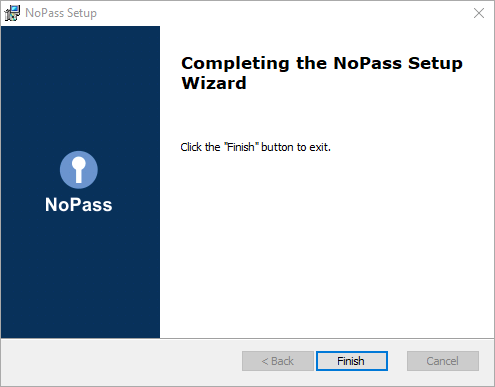
10. To complete the installation process, click Finish.
11. As soon as the installation is finished, you are redirected to the Accounts page of your NoPass™ desktop app.
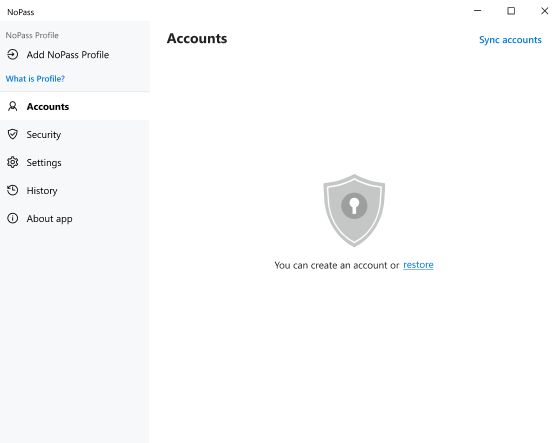
12. To register your account, click Create account in the browser.

13. After your account is created, the following notification is displayed.
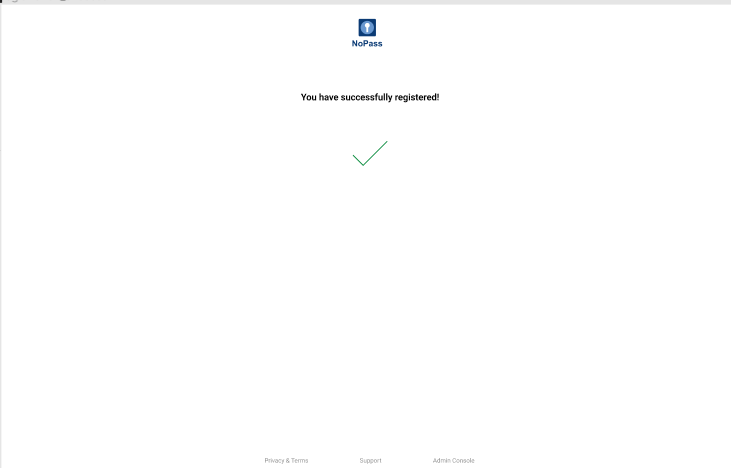
14. Your account is added to the website.
registering an account with social media login
You can register your account on the website with NoPass™ integrated into it using your Google or Facebook login.
register your account with google
Procedure
1. On the chosen website with NoPass™ integrated into it, click Create account.
2. On the registration page, click the Google icon.
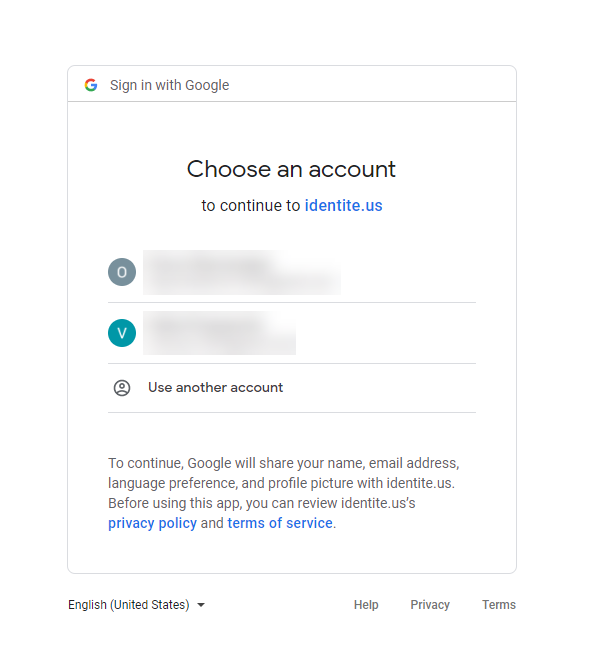
3. Choose the Google account you plan to use for your account registration from the list or create a new Google account.
4. Perform steps 3-14 from the section Registering an account with your email address above.
register your account with Facebook
Procedure
1. On the chosen website with NoPass™ integrated into it, click Create account.
2. On the registration page, click the Facebook icon.
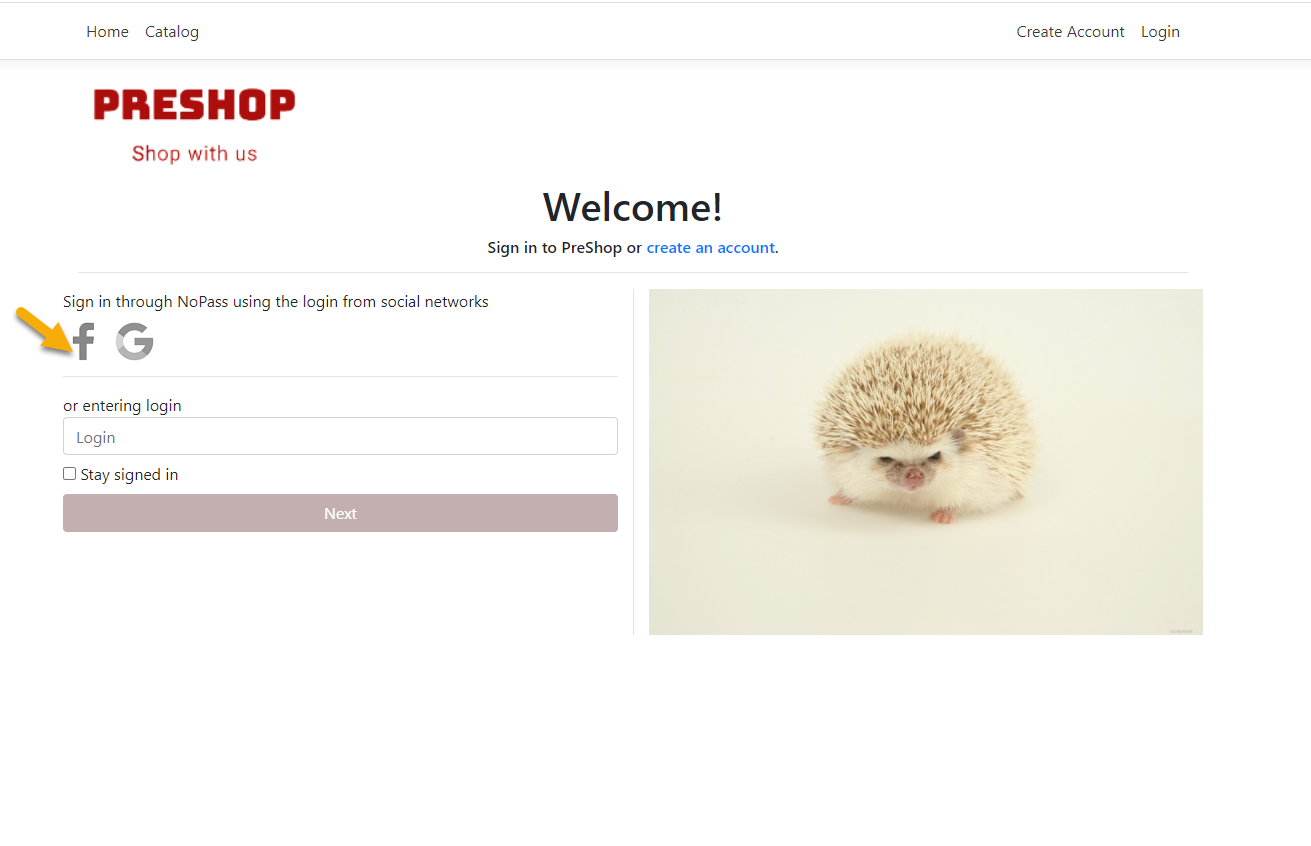
3. On the next screen, the website where you intend to register your account with NoPass™ shall request access to your data such as your name and Profile picture, and offer you to continue via your Facebook account. Click Continue as.
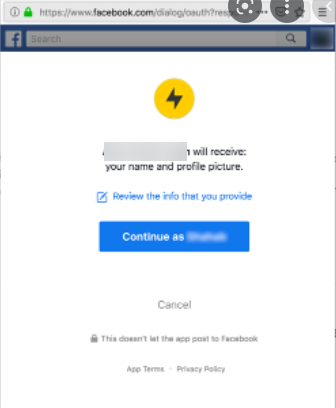
4. Perform steps 3-14 from the section Registering an account with your email address above.
install nopass™ desktop app during Profile creation
You can create your NoPass™ Profile using either your email as a login or your social media login.
creating A Profile with your email address
Procedure.
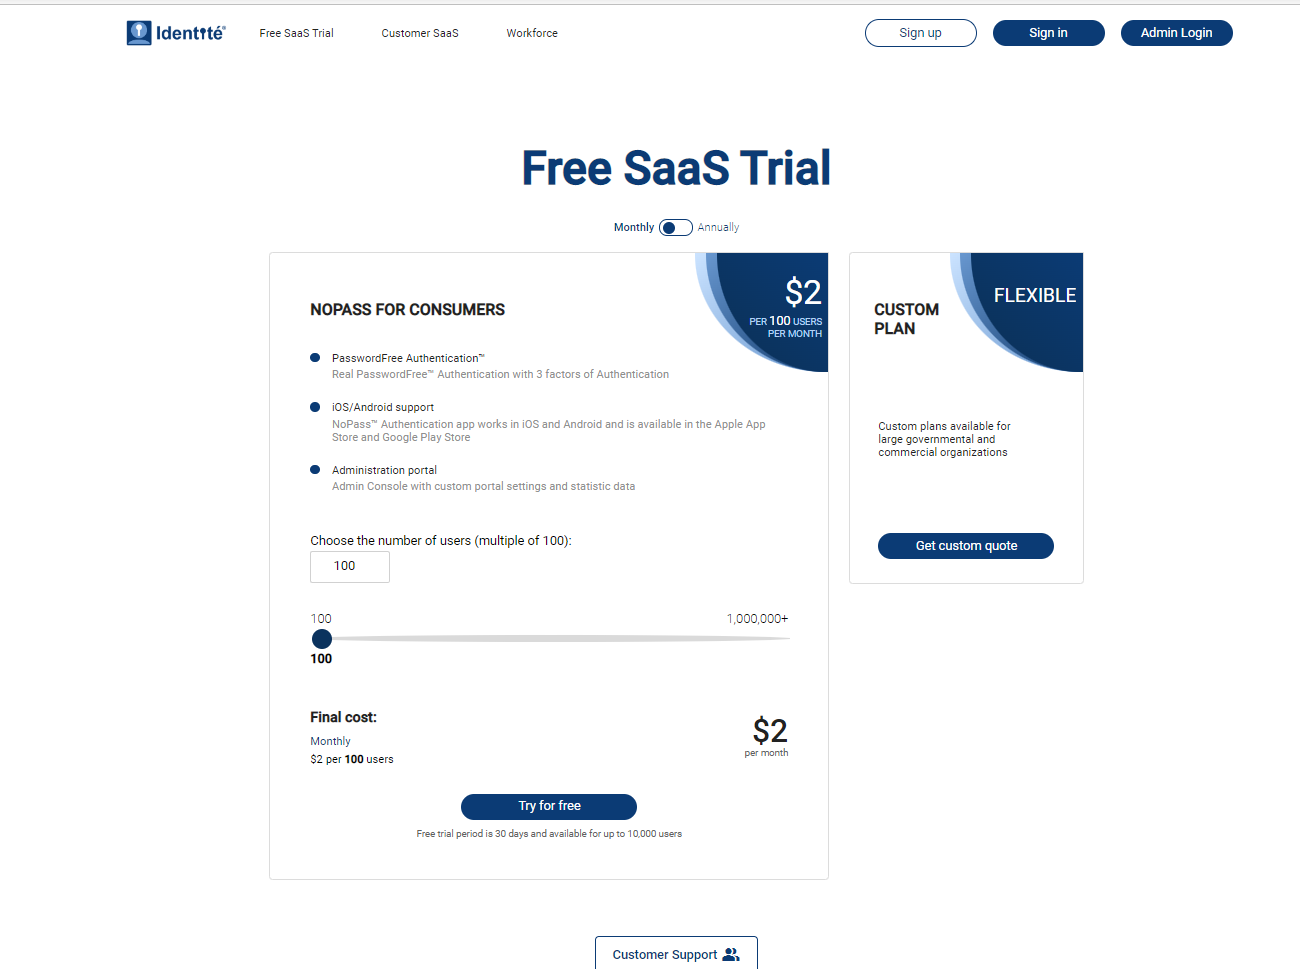
1. Go to www.nopass.us and click Sign up.
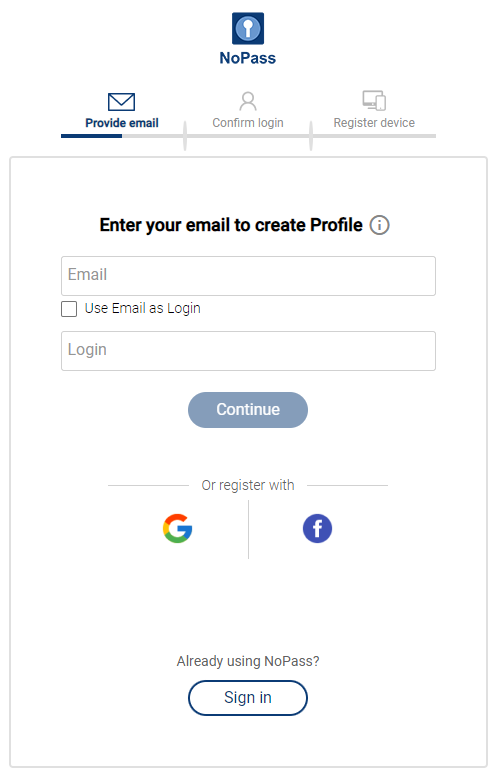
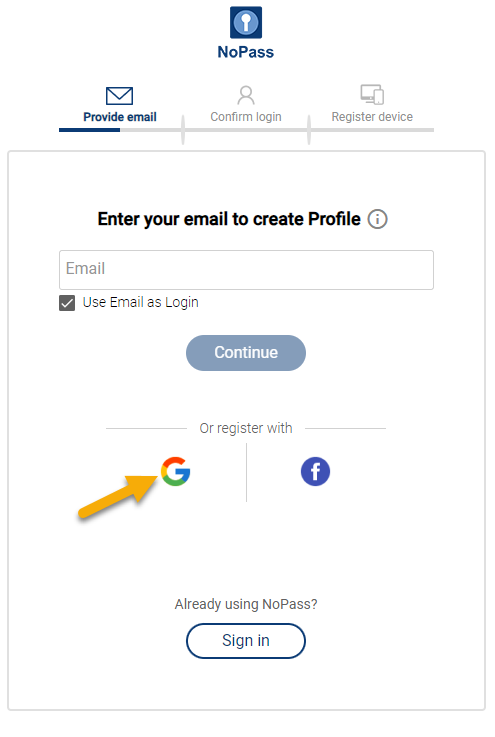
2. On the registration page, fill in the Email field, perform one of the following actions, and click Continue.
- In the Login field, enter a unique login.
- Select the Use Email as Login check box.
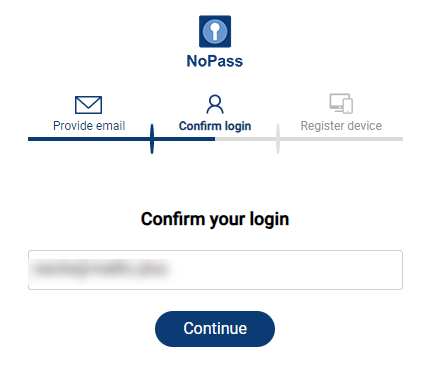
3. Check your email box and click the link in the received email to confirm registration.
4. On the confirmation page, enter your login and click Continue.
5. On the next screen, click Register on this device.
6. Repeat steps 4-14 from the section Registering an account with your email address above.
creating a Profile with social media login
You can create your NoPass™ Profile using your Google or Facebook login.
create your Profile with google
Procedure
1. Go to www.nopass.us and click Sign up.
2. On the registration page, click the Google icon.
3. Choose the Google account you plan to use for your Profile creation from the list. Remember that you will have to choose the same Google account to sign in to your Profile in the future.

4. On the next screen, click Register on this device.
5. Repeat steps 4-14 from the section Registering an account with your email address above.
create your Profile with Facebook
Procedure
1. Go to www.nopass.us and click Sign up.
2. On the registration page, click the Facebook icon.

3. On the next screen, sign in to your Facebook account or create a new account.
4. On the next screen, click Register on this device.
5. Repeat steps 4-14 from the section Registering an account with your email address above.