Manage your account data in your NoPass™ desktop app
Accounts menu description
The accounts you have registered on various portals are displayed in the Accounts menu of your NoPass™ desktop app. For more details, see Register account without QR.
Note the following rules of accounts naming.
- You can create accounts on several portals (Services) belonging to one and the same Workspace of a Company. Then, the name of your account shall represent the common name of the Workspace, and the list of the Services where you have already registered is displayed in the drop-down menu.
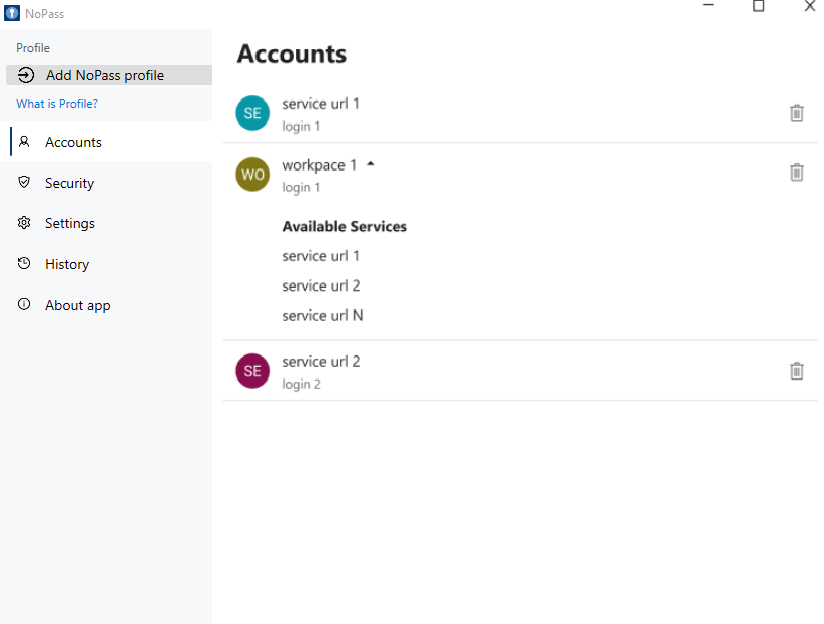
- If the Workspace has only one portal (Service), the account name shall be the domain name part of this Service URL.
- When registering accounts on different portals (Services) within one and the same Workspace, use a unique login for each portal.
- The accounts are displayed in the Accounts menu in the order of their registration.
In your NoPass™ desktop app, you can perform the following actions with your account data:
- Create a backup file.
- Remove your backup files.
- See when the last backup was performed and to what Google account.
- Change the Google account where the backup files are stored.
- Restore your account data.
Creating A backup file
For your convenience, NoPass™ provides you with an option to back up your account data in your NoPass™ desktop application. This option will enable you to restore your account data in case you lose them.
Option 1.
The backup option is available immediately after successful account registration.
Procedure
1. To back up your accounts, click Go to backup.

Option 2.
If you didn't back up your accounts immediately after account registration, the option is available on the Settings page of your NoPass™ desktop application.
Procedure
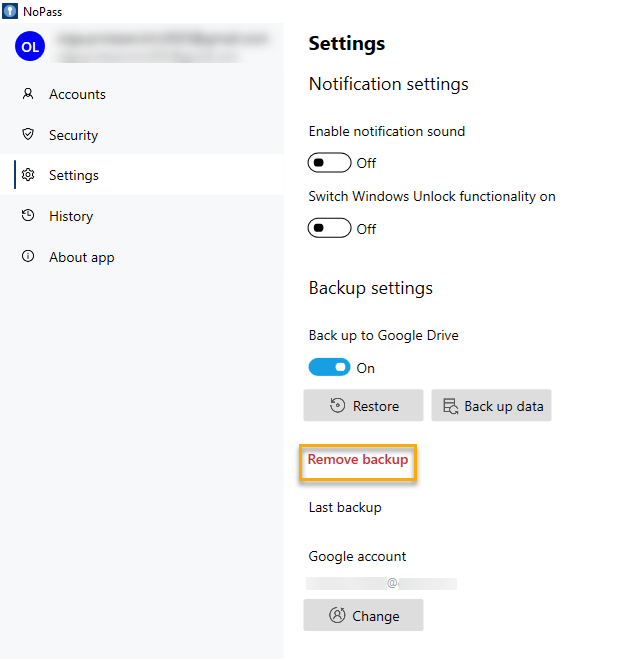
1. Open your NoPass™ desktop application and go to Settings.
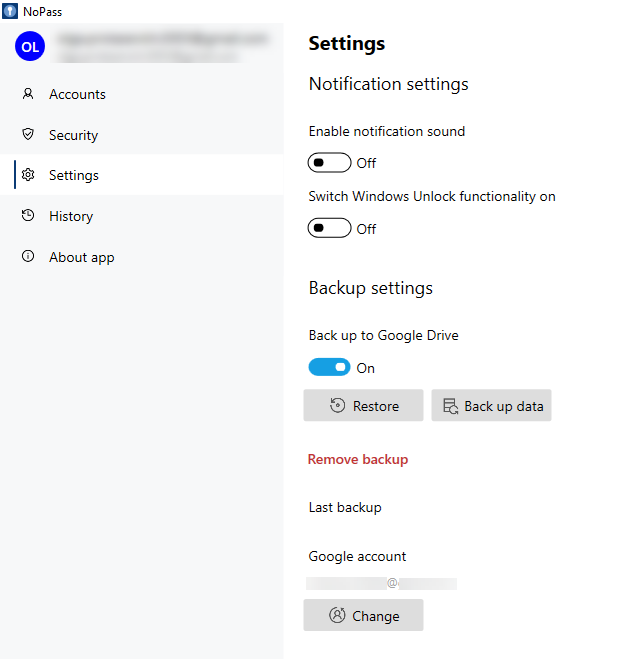
2. Select Back up to Google Drive, then click Back up data.
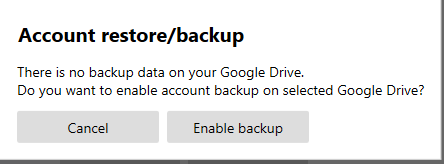
3. In the displayed dialogue box, click Enable backup.
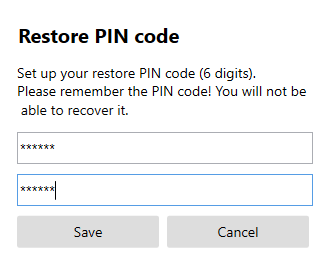
4. Create a restore PIN code, confirm it and click Save.
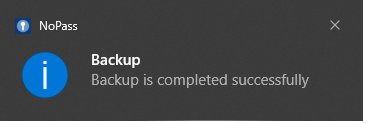
5. If your backup was successful, the following notification is displayed.
Removing backup files
After you successfully back up your account data, you can remove the backup file from your Google Drive.
Procedure
1. On the Settings page, click Remove backup.
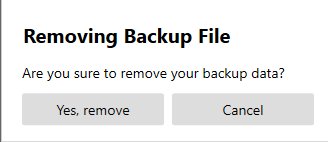
2. In the displayed dialogue box, click Yes, remove.
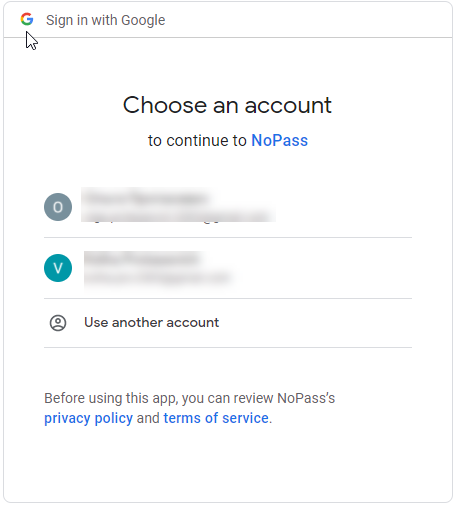
3. If you have not set up additional authentication factors in the Security sector, select the Google account from which the backup file is to be removed.
4. If additional authentication factors have been set up, use the protection method chosen in the Security section:
- Windows account credentials
- PIN code
- Password
- Yubikey
For more details, see Set up additional authentication factor.
5. Select the Google account from which the backup file is to be removed.
Now your backup file is removed.
changing the google account
You can choose another Google account for your backup file.
Procedure
1. On the Settings page, click Change.
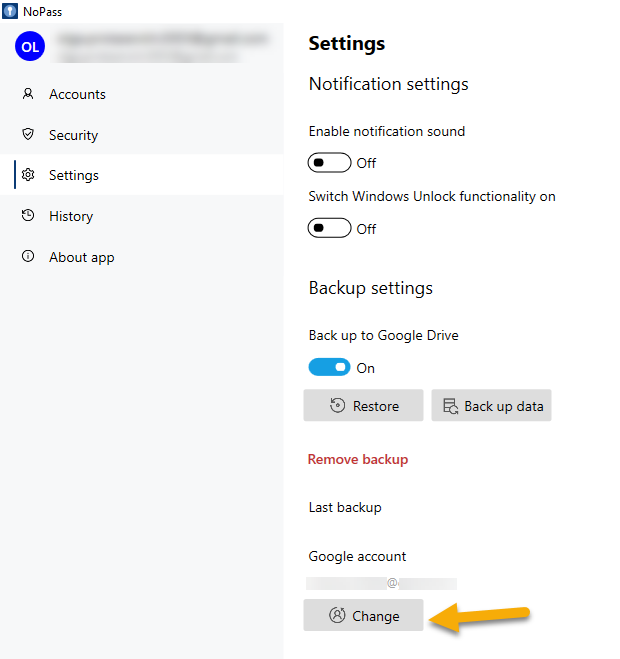
2. Choose the Google account from the list of your accounts.
Once your Google account page is reached successfully, the name of your Google account for backup files in the NoPass™ desktop app is changed.
Restoring your account data
When your backup file is created, you can restore your account data from Google Drive any time your data is lost.
Procedure
1. On the Settings page, click Restore.
2. Choose the Google account from the list of your accounts.
3. Enter your restore PIN code in the dialogue box, then confirm it and click Save.
