Download and install your NoPass™ app
The NoPass™ passwordless authentication system is available both for mobile devices (Android and iOS) and desktop computers (Windows OS and macOS).
Downloading the NoPass™ mobile app
Option 1
1. On your mobile device, open Google Play (for Android) or App Store (for iOS).

2. In the search box, enter NoPass (for Google Play) or IdentiteNoPass (for App Store) and tap Install.
3. After the app is installed, tap Open.
Option 2
You can download your NoPass™ mobile application during the process of Profile creation in the browser. For more details on the Profile, go to Profile.
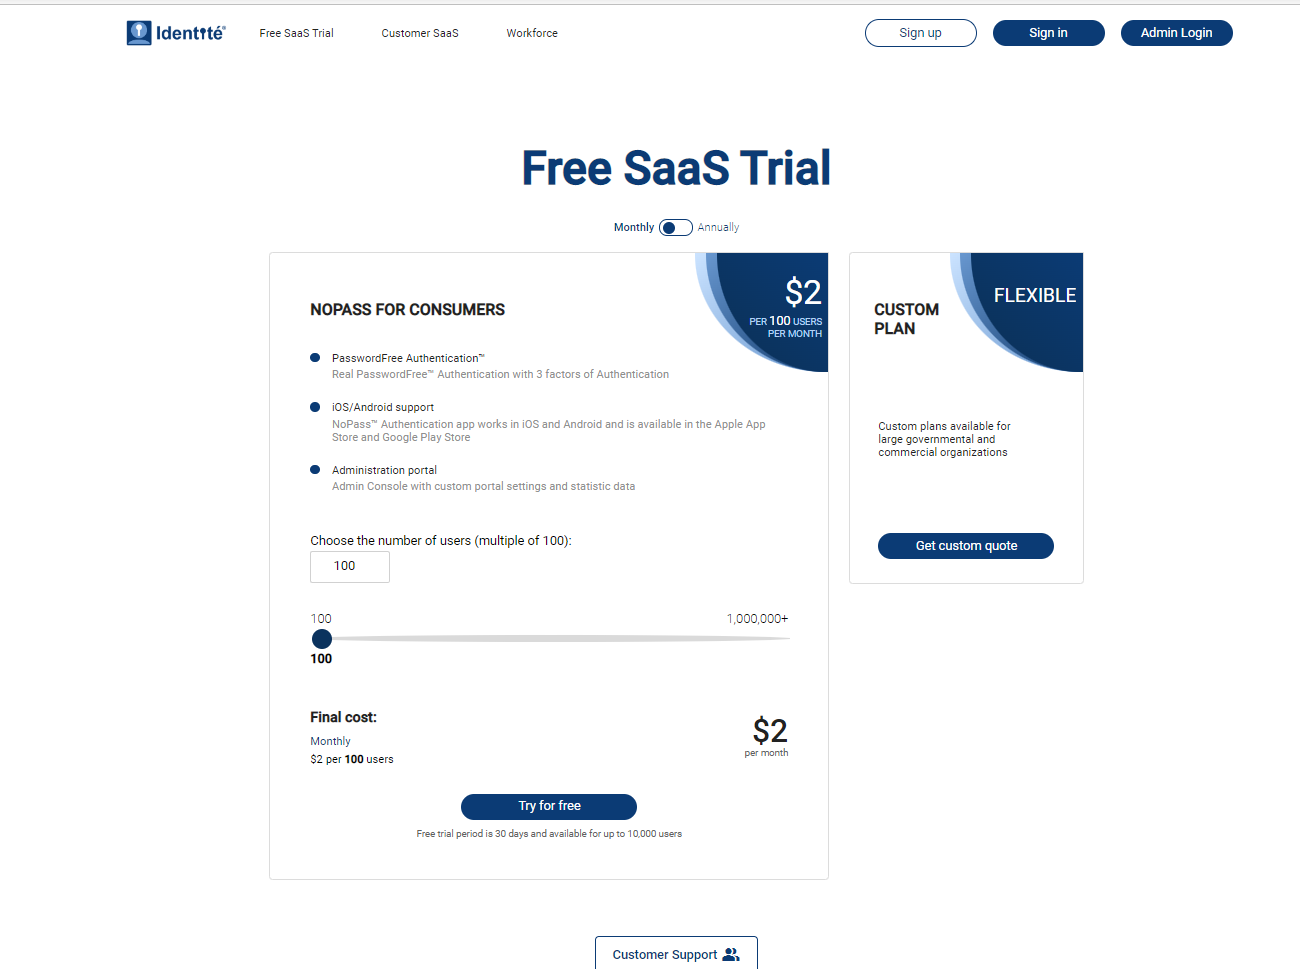
1. Open up the browser on your computer, go to www.nopass.us and click Sign up.
2. You can register your Profile using either your email address or social media login. Choose one of the variants below:
Variant 1: register your Profile with your email address
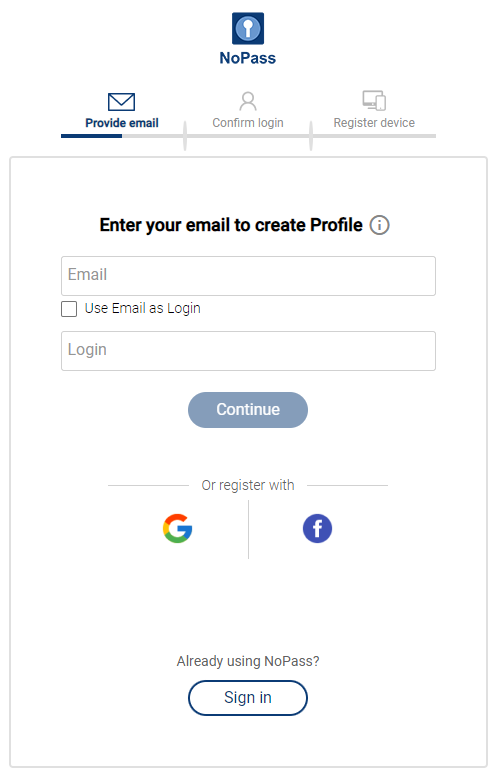
1) On the registration page, enter your email, perform one of the following actions and click Continue.
- In the Login field, enter a unique login.
- Select the Use Email as Login check box.
2) Check your email box and click the link in the received email to confirm registration.
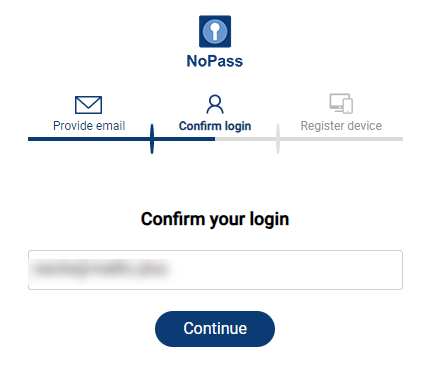
3) On the confirmation page, enter your login and click Continue.
Variant 2: register your Profile with your social media login
1) To register your Profile with your social media login, perform one of the following procedures.
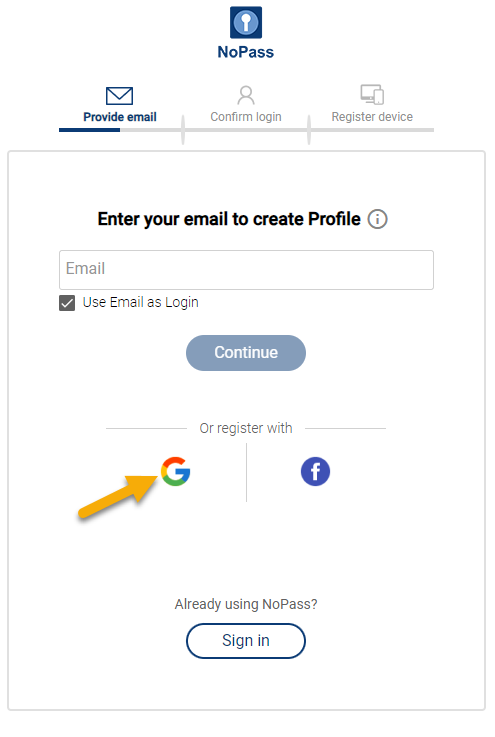
Procedure 1: register your Profile with your Google account login
- On the registration page, click the Google icon.
- Select the account you plan to use for your Profile registration. Remember that you will have to choose the same Google account to sign in to your Profile in the future.

Procedure 2: register your Profile with your Facebook login
- On the registration page, click the Facebook icon.

- Sign in to your Facebook account or create a new account. Remember to register your Facebook account with your valid email address, otherwise, your Facebook account won't be available to the NoPass™ app.
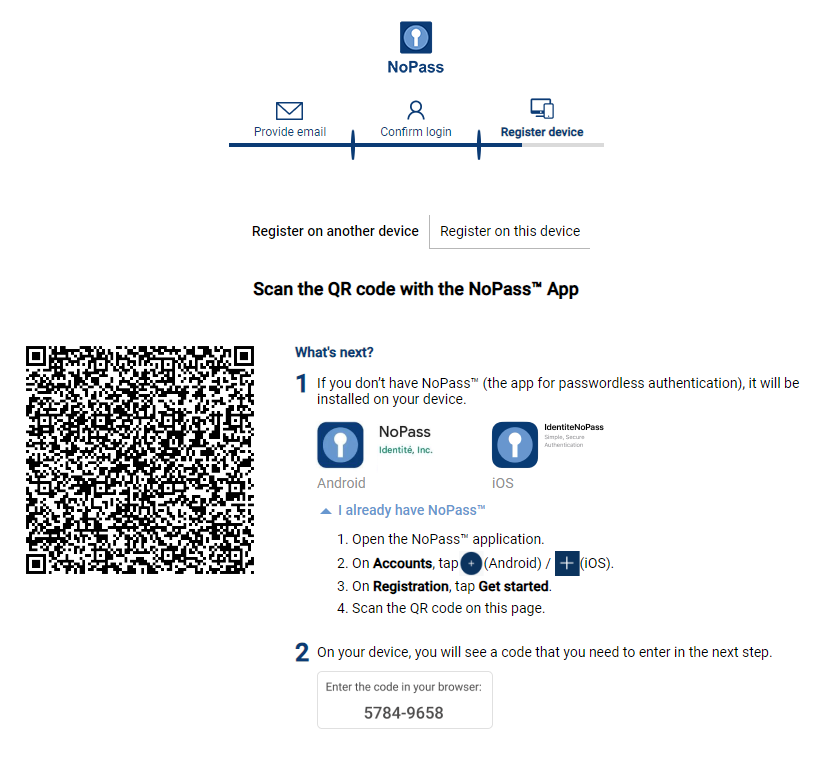
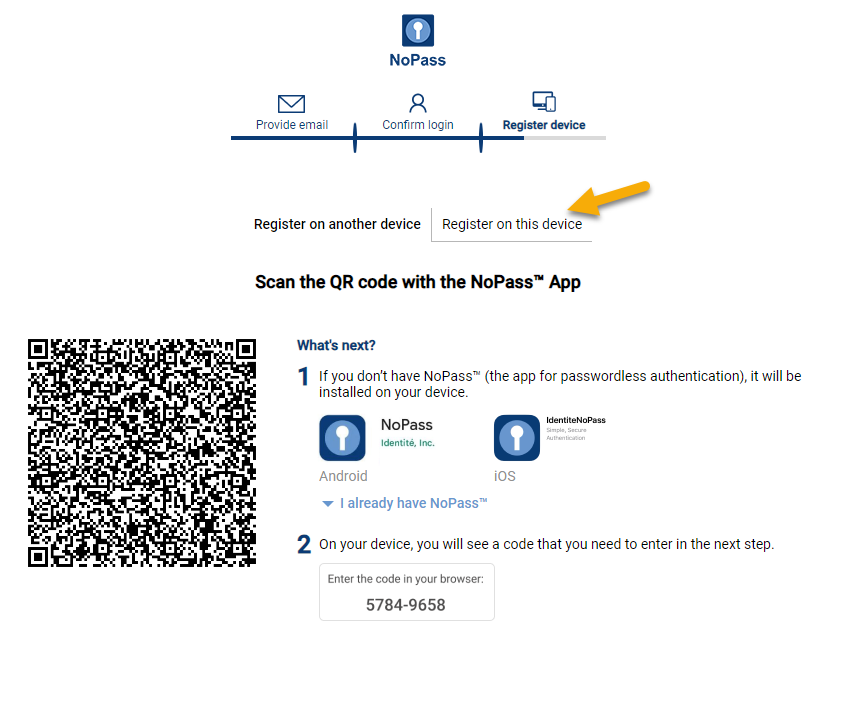
2) On the following page, perform one of the following actions:
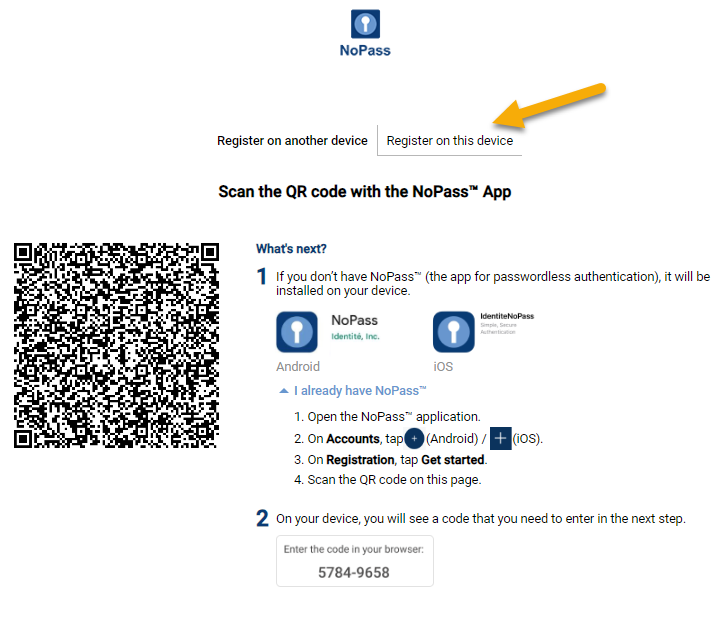
- Click I already have NoPass™ and follow the instruction to download NoPass™ for your Android or iOS device, respectively.
- Scan the QR code with your mobile device scanner and download the NoPass™ mobile app from Google Play or App Store.
downloading the NoPass™ desktop app
You can download and install the NoPass™ desktop app simultaneously with registration of your account on the website with NoPass™ integrated into it or during creation of your Profile in the browser at www.nopass.us.
Option 1: Downloading and installing NoPass™ during account registration
Procedure
1. On the chosen website with NoPass™ integrated into it, click Create account.
2. You can register your account using either your email address or social media login. Choose one of the variants below:
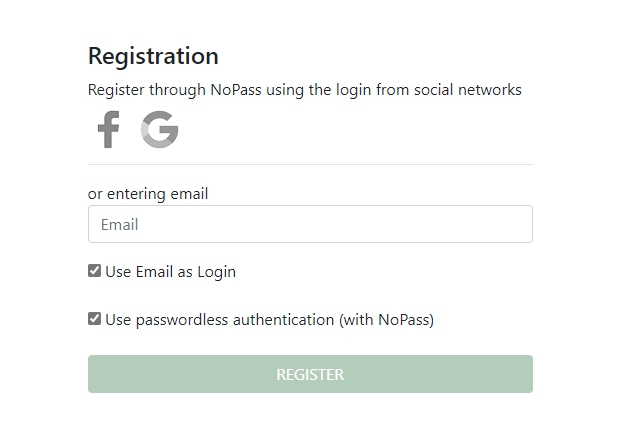
Variant 1: register your account with your email address
1) On the registration page, enter your email, perform one of the following actions, and click Register.
- In the Login field, enter the unique login.
- Select Use email as login check box.
Variant 2: register your account with your social media login (for Windows computers only)
1) To register your Profile with your social media login, perform one of the following procedures.
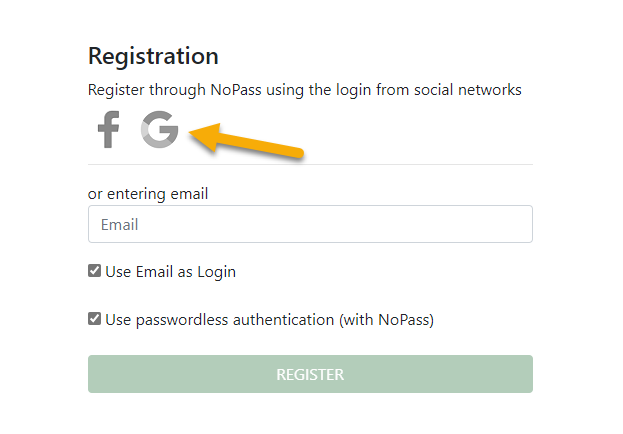
Procedure 1: register your account with Google account login
- On the registration page, click the Google icon.
- Select the account you plan to use for your account registration. Remember that you will have to choose the same Google account to sign in to your account in the future.
Procedure 2: register your account with the Facebook login
- On the registration page, click the Facebook icon.

- Sign in to your Facebook account or create a new account. Remember to register your Facebook account with your valid email address, otherwise, your Facebook account won't be available to the NoPass™ app.
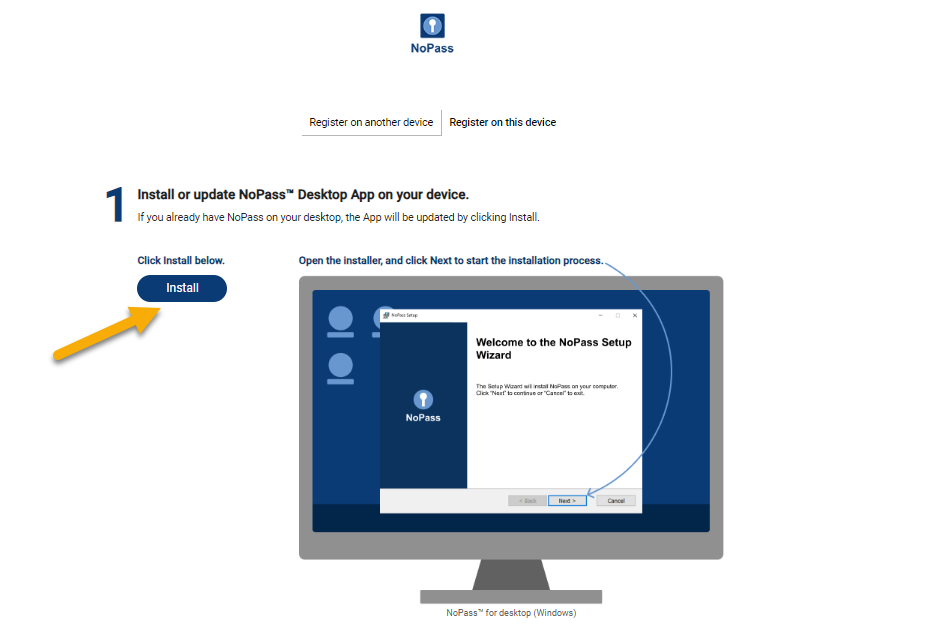
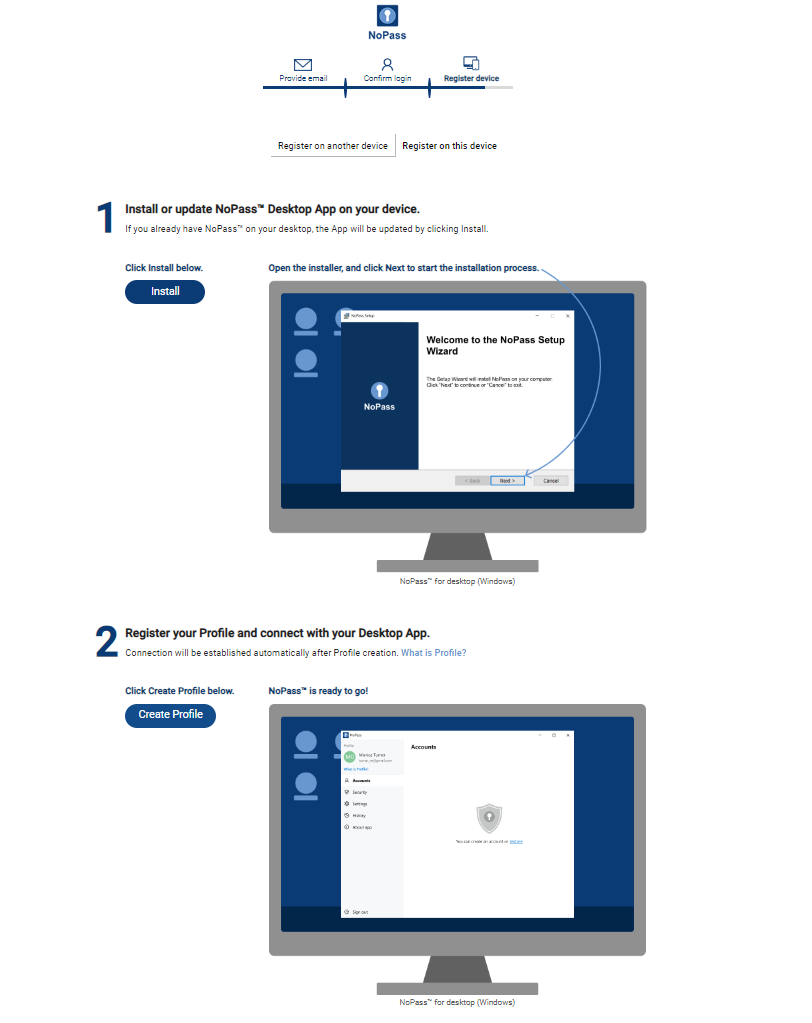
3. To install the NoPass™ desktop application, click Register on this device.
4. On the following page, click Install.
5. Depending on what PC (with Windows OS or macOS) you are using, perform one of the following Procedures.
Procedure 1: Download and install the NoPass™ app on your Windows OS computer
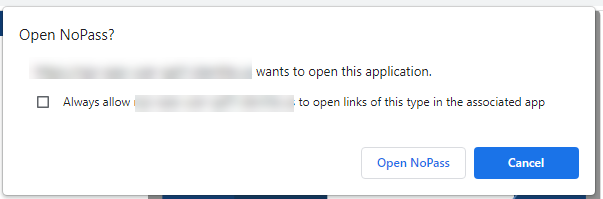
1) On your Windows PC, a pop-up window is displayed. Allow the current site to enable the download of the NoPass™ app.
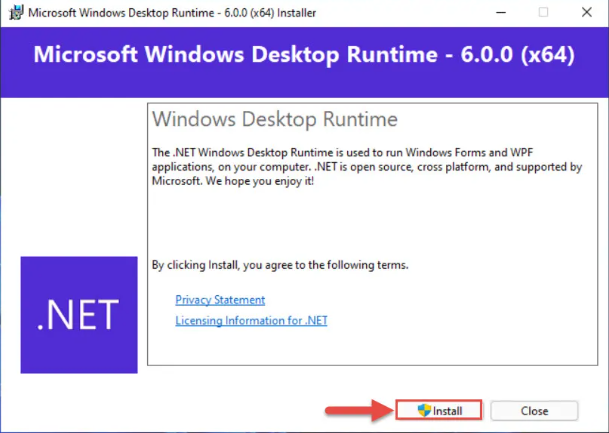
2) Make sure .Net Runtime is installed on your computer. Otherwise, click Install in the following dialogue box to install the necessary software.
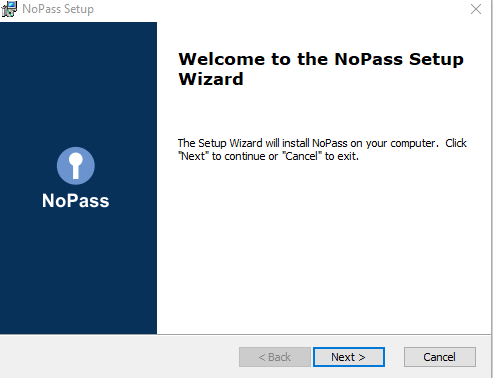
3) Follow the NoPass™ Setup Wizard instructions.
Procedure 2: Download and install the NoPass™ app on your macOS computer
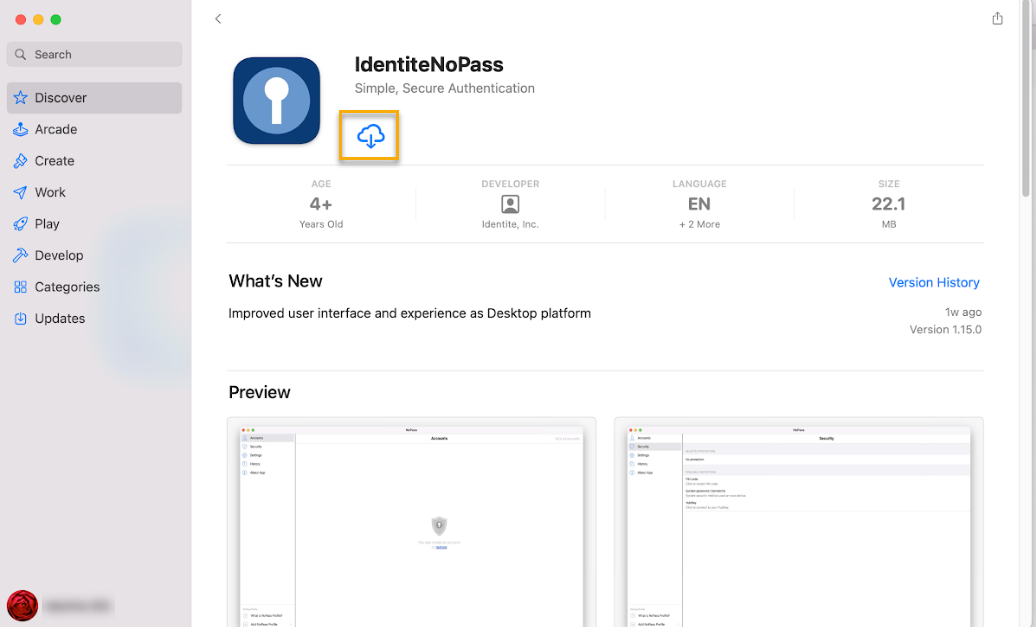
1) On your macOS computer, you are redirected to the App Store marketplace and the NoPass app page is displayed on your screen. Click the downloading icon, then click Open.
2) The NoPass™ app opens on your macOS computer. For the proper working of the application, perform the following steps if required.
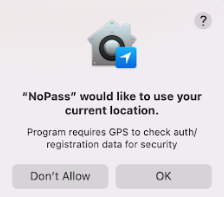
- To allow the NoPass™ app using your location,click OK in the following notification window.
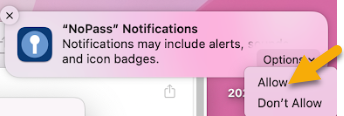
- To be able to receive push notifications, perform one of the following actions:
i. click Options>Allow in the notifications window displayed in the right-hand upper corner of your macOS screen.
ii. In case such notification window is not displayed, the NoPass™ notifications are to be allowed in your macOS computer settings. To allow the NoPass™ notifications, open System Preferences and navigate to Notifications and Focus.

Select NoPass from the list of applications and switch on the toggle Allow Notifications.

Option 2: Downloading and installing NoPass™ desktop app during Profile creation
Procedure
1. Go to www.nopass.us and click Sign up.
2. You can register your Profile using either your email address or social media login. Choose one of the variants below:
Variant 1: register your Profile with your email address
1) On the registration page, enter your email, perform one of the following actions and click Continue.
- In the Login field, enter a unique login.
- Select the Use Email as Login check box.
2) Check your email box and click the link in the received email to confirm registration.
3) On the confirmation page, enter your login and click Continue.
Variant 2: register your Profile with your social media login
1) To register your Profile with your social media login, perform one of the following procedures.
Procedure 1: register your Profile with your Google account login
- On the registration page, click the Google icon.
- Select the account you plan to use for your account registration. Remember that you will have to choose the same Google account to sign in to your account in the future.
Procedure 2: register your Profile with the Facebook login
- On the registration page, click the Facebook icon.
- Sign in to your Facebook account or create a new account. Remember to register your Facebook account with your valid email address, otherwise, your Facebook account won't be available to the NoPass™ app.
3.To install the NoPass™ desktop application, click Register on this device.
4. On the following page, click Install.
5. Depending on what PC (with Windows OS or macOS) you are using, perform one of the following Procedures.
Procedure 1: Download and install the NoPass™ app on your Windows OS computer
1) On your Windows PC, a pop-up window is displayed. On the pop-up, allow the current site to enable the download of the NoPass™ app.
2) Make sure .Net Runtime is installed on your computer. Otherwise, click Install in the following dialogue box to install the necessary software.
3) Follow the NoPass™ Setup Wizard instructions.
Procedure 2: Download and install the NoPass™ app on your macOS computer
1) On your macOS computer, you are redirected to the App Store marketplace and the NoPass app page is displayed on your screen. Click the downloading icon, then click Open.
2) The NoPass™ app opens on your macOS computer. For the proper working of the application, perform the following steps if required.
- To allow the NoPass™ app using your location,click OK in the following notification window.
- To be able to receive push notifications, perform one of the following actions:
i. click Options>Allow in the notifications window displayed in the right-hand upper corner of your macOS screen.
ii. In case such notification window is not displayed, the NoPass™ notifications are to be allowed in your macOS computer settings. To allow the NoPass™ notifications, open System Preferences and navigate to Notifications and Focus.
Select NoPass from the list of applications and switch on the toggle Allow Notifications.